In order to cook one of my previous blog posts
Pumpkin and Spinach Casserole, I bought some spinach from CostCo. To those of you who may not know, if you buy spinach from CostCo, you end up buying 1kg worth of spinach. That is A LOT of spinach.
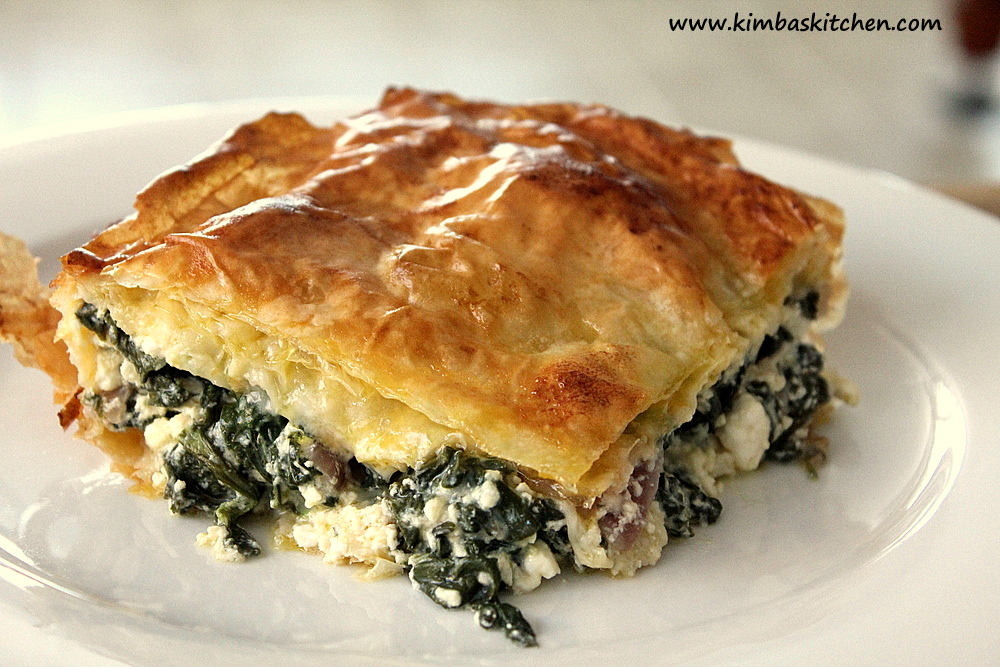
I don’t normally cook vegetarian dishes, so I had no idea what to do with that much spinach! So I sent a message to my sister in law who IS a vegetarian and she recommended this Spanakopita recipe. Since then I have done some Google searches to find out more about this dish, and turns out it is a Greek classic so I decided to give it a go!
By the time I cooked this dish, a few weeks have actually passed since I bought that massive bag of spinach so I had frozen spinach to work with. Very different to the recipe my sister in law gave me, so I had to make some slight changes. Obviously, frozen spinach once thawed becomes blanched spinach and therefore I had to squeeze out any excess water before finely chopping it. I also decided to COOK the spinach with the onion and garlic to make sure any excess water evaporates and the spinach is as dry as possible. Anyway, all method will be revealed in the recipe below :-)
Ingredients:
750g spinach, finely chopped
500g feta cheese, crumbled
6 eggs
1 tbsp olive oil
1 large red onion, chopped
1 tsp minced garlic
1 packet frozen filo pastry sheets
250g butter, melted
Method:
If your spinach is frozen, make sure it is thawed completely. Squeeze excess water from spinach and chop finely. Heat olive oil in a frypan and saute red onion, minced garlic and spinach until fragrant. In a bowl, mix together feta cheese and eggs, then add the sauteed onion and spinach mixture into the bowl and mix well.
Meanwhile, brush a rectangular casserole dish with some melted butter using a brush. Start by lining the dish with one single sheet of thawed filo pastry, with its sides hanging on the edges of the dish. Brush the filo sheet with butter and layer another sheet on top. Keep repeating this process until the bottom pastry layers is about 10 sheets thick. Make sure it is well buttered between each layer.
Pour the filling mixture onto the sheets and fold excess filo on the sides over the filling. Top with at least 5 layers of filo pastry, also making sure it is well brushed with melted butter between each layer and especially at the top layer for a nice, brown and crispy finish.
Bake at 180C for approx. 30-40 minutes.
Kimba’s Notes: This was my first time fiddling with Filo Pastry so I found it quite challenging! The sheets were sooo fragile and super thin. Do not stress if it keeps tearing though, just keep layering them and use the butter to keep them together. I have no idea where my bottom layers of pastry disappeared to, so I would suggest layering them much thicker at the bottom. The top layers of pastry though, delicious and crispy!



Leave a Reply